How to Field Dress a Deer Like a Pro: A Step-by-Step Guide
Congratulations! You’ve just had that heart-pounding moment of a successful hunt. The deer is down, and now you’re standing over it, thinking, “What’s next?”
You see, figuring out how to field dress a deer can feel like a world of unknowns, even for seasoned hunters. It’s that mix of awe and responsibility that hits you, making you wonder if you’re doing it right.
Picture this: You, confidently field dressing a deer with the skill and composure of a pro. It’s not just about impressing others; it’s about showing respect for the game and ensuring nothing goes to waste.

In this guide, I’m your hunting companion, sharing what I’ve learned through my own hunting adventures – the successes and, yes, the occasional mishaps. By the end, you’ll have the knowledge and the confidence to field dress a deer like a seasoned pro.
So, whether you’ve faced your share of ‘deer dressing dilemmas’ or you’re just eager to hone your skills, stick around. We’re about to navigate the world of deer dressing, learning, laughing, and respecting the hunt every step of the way.
What is field dressing?
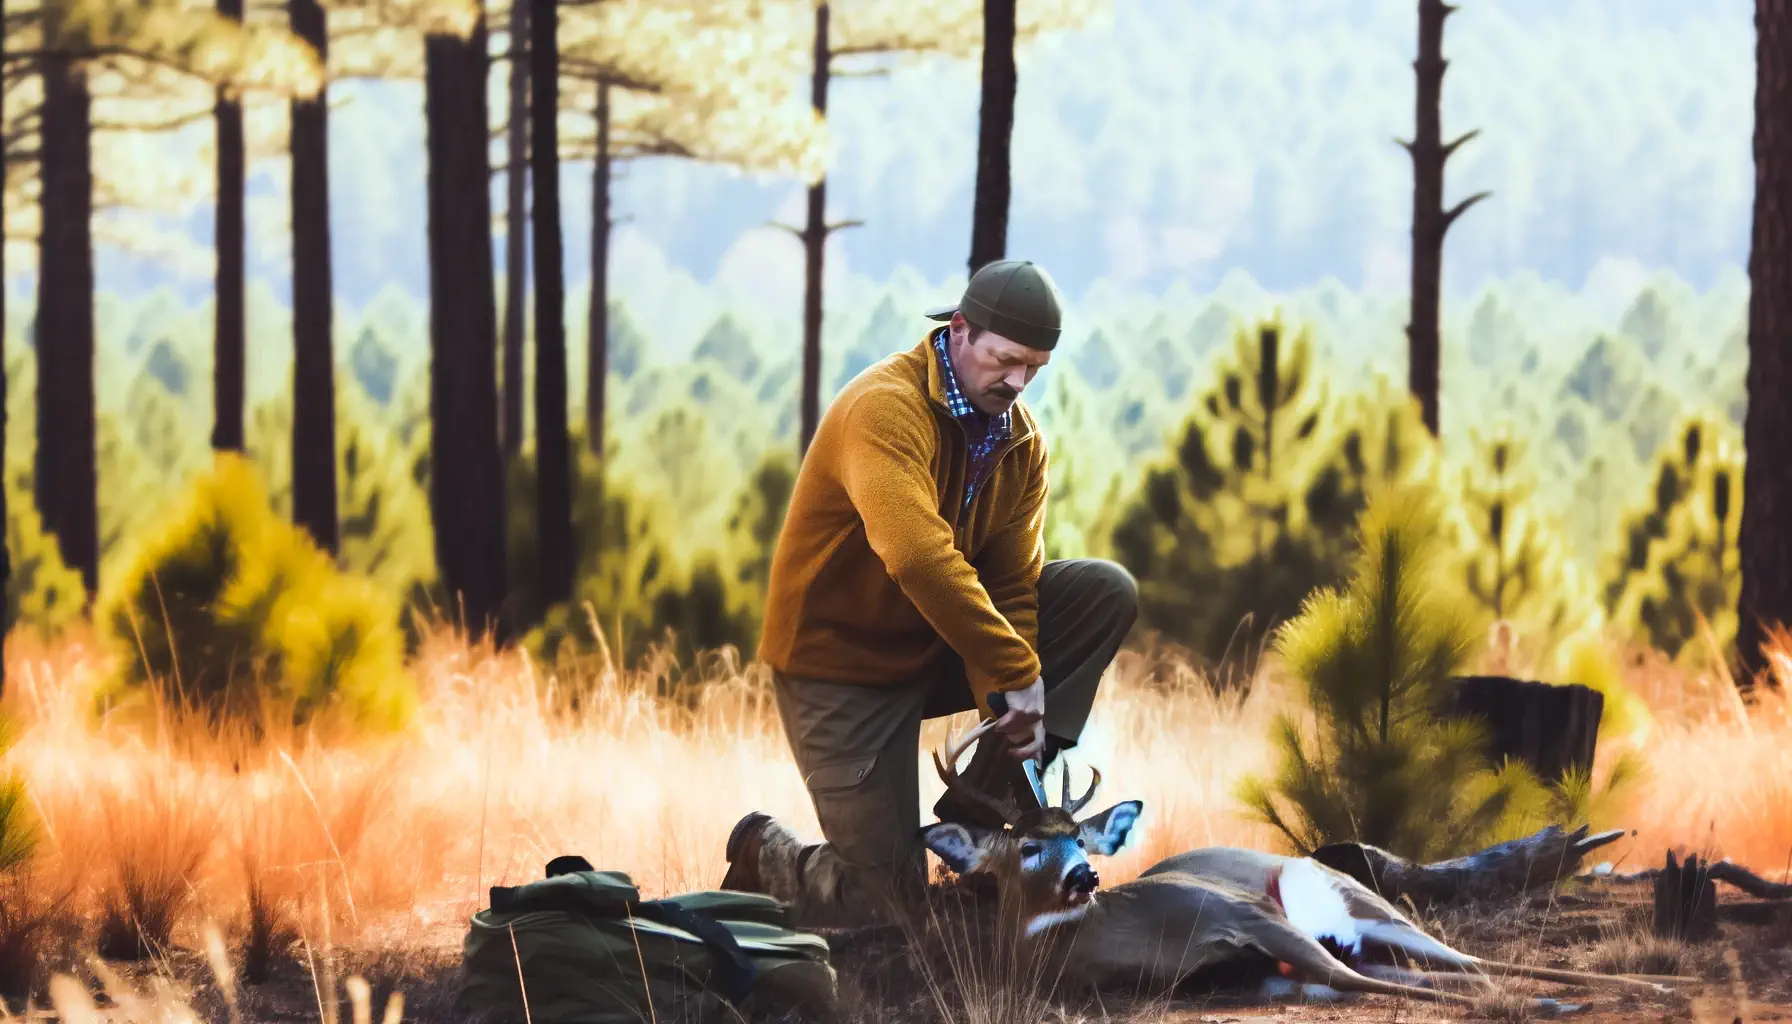
Field dressing is a fundamental skill in the world of hunting deer, and it’s all about the careful process of preparing your freshly harvested game for consumption. It involves using a sharp knife blade to skillfully remove the connective tissue and organs from the body cavity of the deer.
This critical step ensures that the meat remains in the best possible condition, free from contamination and ready for the table. Mastering how to field dress is not only about enhancing the quality of your venison but also showing respect for the animal you’ve hunted.
Now that we’re on the same page, let’s dive into the step-by-step process of how to field dress a deer like a pro.
Reasons You Need to Know How To Field Dress a Deer
Out here in the woods, there’s one skill that’s the real game-changer – field dressing. But hey, it’s not just another skill; it’s the secret sauce that separates the rookies from the pros. I’ve been down this trail more times than I can count, and let me tell you, mastering this skill is as crucial as it gets.
So, why is being a virtuoso with a razor-sharp knife, knowing your way around those hind legs, and handling the chest cavity like a pro, so darn essential?
- Preserve Your Bounty: It’s is your golden ticket to preserving that precious meat in pristine condition, keeping contamination at bay. And when you follow my streamlined approach, you’ll ensure that every step is carried out with precision and efficiency, safeguarding the quality of your harvest.
- Nothing Goes to Waste: It’s all about respecting the hunt and making sure every edible bit of that deer finds its way to your table. With my method, you’ll not only master the basics but also gain insights into maximizing the utilization of every part of the animal, minimizing waste, and truly honoring the spirit of the hunt.
- Safety First: Mastery of this craft means you won’t lose sleep over the safety of the meat you’ve worked so hard to bag. I’ll guide you through each step, emphasizing safety protocols and ensuring that you can confidently handle the process without any concerns about the meat’s integrity.
So, as we delve into the art of field dressing, remember that my approach is your ideal solution – a method refined through years of experience and a deep respect for the hunt. It’s time to equip yourself with these skills, and together, we’ll master this art like seasoned pros.

Step-by-Step Instructions to Field Dress a Deer
After countless hunts, I’ve honed a field dressing process that blends technique and speed that lends easy of access. This approach streamlines everything while optimizing the use of every part of the deer.
- Gear Essentials
- A Gentle Start
- Anus Care
- Unveiling the Harvest
- Diaphragm Precision
- Windpipe Parting
- The Culmination
- Drain n’ Rinse
- The Chill
With this approach as our guide, we’re ready to delve into the world of field dressing. This tutorial will lead you through each step, ensuring you not only acquire essential skills but also develop a profound connection with this art. So, equip yourself with your knife and dressing gloves, sharpen your tools, and embark on this dance with nature as we learn to field dress a deer like a seasoned pro.
Step 1: Gear Essentials
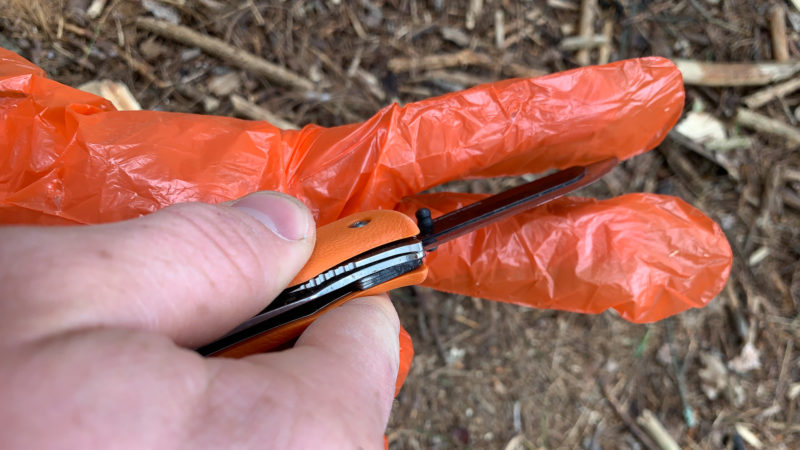
Begin by selecting a sharp knife, ideally one designed for cutting meat. Ensure it’s well-maintained, with a razor-sharp edge. The ability to make clean and precise cuts, reduces the risk of accidents and ensures efficiency throughout the process.

Equally important are your dressing gloves. Choose high-quality, puncture-resistant gloves that fit snugly to protect your hands from sharp edges and potential contaminants. Safety is paramount in the field, and these gloves provide an extra layer of protection.

Step 2: Gentle Start
Begin by finding a suitable spot to work on the deer. Ideally, you want an inclined plane or a slightly elevated area where you can lay the deer on its back This positioning not only offers better access to the deer but also aids in the natural drainage of fluids.
Once you’ve identified the right spot, gently lay the deer on its back with its hind legs spread apart. This position not only allows for better access to the deer’s chest but also keeps the deer’s head in a stable and manageable position.

Step 3: Anus Care
Begin by locating the sex organs and the urethra, which are situated near the rear of the deer’s body. These areas require careful attention to ensure hygiene and the preservation of your harvest’s quality.
Using your sharp knife blade, carefully cut around the sex organs. Exercise caution to avoid puncturing the intestines or causing any unnecessary damage. If your state regulations require proof of sex to remain attached, cut around the area rather than removing it.
This approach manages the removal of the genitalia while accessing the urethra. The technique involves keeping the buck’s sex organs intact
Carefully pull down on the urethra while making precise cuts with your knife, extending to the pelvic bone. This action frees the urethra entirely, along with the anus, making it easier to extract both later on. It’s worth noting that while some hunters incorporate this step before or after cutting around the anus, many others opt to skip it altogether.
Having personally experienced both approaches, I can attest that both methods are effective in their own right.
Step 4: Unveiling the Harvest
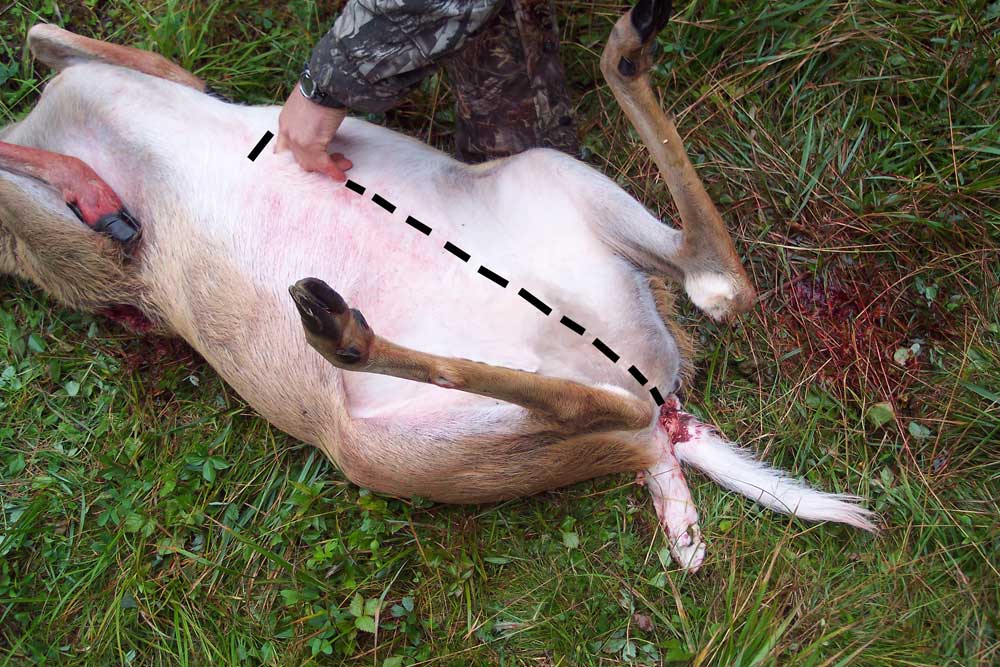
Make a very small and controlled incision at the base of the deer’s belly, being extremely cautious not to puncture the abdominal organs. This incision should penetrate only through the hide and the abdominal wall.
With your off-hand, form a V shape with your extended fingers and insert them gently into the small incision. Apply upward pressure to create space between the abdominal wall and the internal organs.
Using your knife, blade facing upward, carefully run the blade between your extended fingers, extending the cut from the small incision all the way up to the sternum (breastbone).
Alternative Approach: Some hunters prefer making this long cut in the opposite direction, from the sternum down to the pelvis, as it minimizes the risk of puncturing the guts during the initial incision. While this method can be effective, the choice ultimately depends on personal preference and experience.
Optional Step: For those who prefer an alternative approach to accessing the chest cavity, you may consider using a saw to make a controlled cut along the chest, creating a larger opening. This method can offer better visibility and easier access to the internal organs. However, it’s essential to exercise caution and ensure a clean, precise cut to avoid damaging the meat
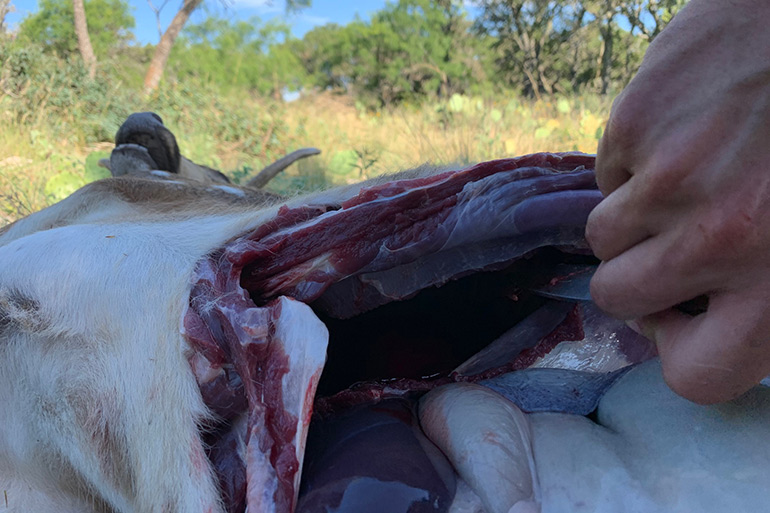
Step 5: Diaphragm Precision
The diaphragm is a fleshy membrane, with a thin layer that separates the chest cavity from the abdominal cavity. Opening the chest cavity not only makes it easier and safer to access the windpipe but also provides a clear view of the diaphragm.
With your knife blade, make a precise cut along each side of the diaphragm, ensuring that you free it completely. Begin at one end and continue down along the spine, paying close attention to the connective tissue and rib cage.
As you cut the diaphragm, you’ll notice improved ventilation within the chest cavity, making it easier to access the internal organs. This step is essential for keeping the body cavity open and ensuring a seamless dressing process.
Step 6: Windpipe Parting
Now, let’s reach into the chest cavity, extending our reach toward the neck, and carefully sever the windpipe, which is essential for proper ventilation and facilitating the removal of organs within the body cavity. Here’s how to do it:
Gently reach into the chest cavity, extending your hand toward the neck area. The windpipe should be easy to spot and access. If you have a saw, this step becomes even more straightforward.
(Optional Step): If you have a saw with you, use it to make a clean cut through the windpipe. This tool makes the process easier and more efficient.
Alternative Approach (Without a Saw): If you didn’t bring a saw or cannot open the chest cavity, don’t worry. Reach into the cavity with your off hand, extending your arm far enough to access the windpipe. Carefully grab the windpipe and secure it.
With the windpipe secured, use your knife in your dominant hand to carefully slip it up toward the windpipe without injuring yourself. Make a precise cut to free the windpipe from its attachments.
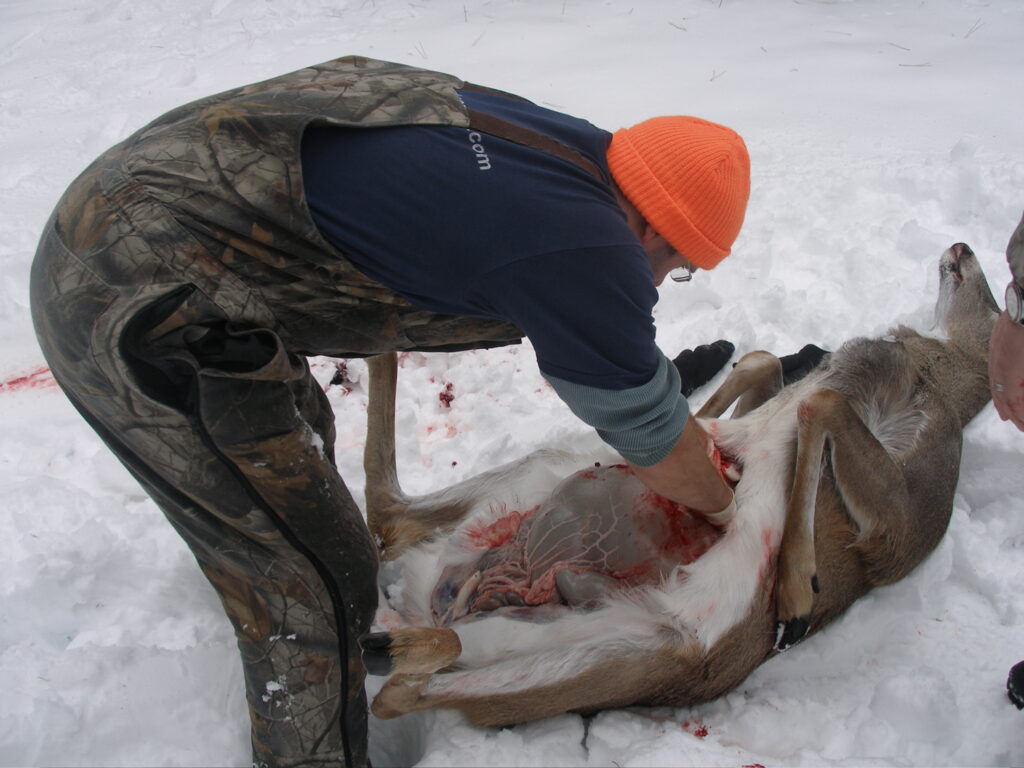
Step 7: The Culmination
With the deer lying on its side, it’s time to remove the windpipe and any remaining organs from the body cavity. Here’s how to do it:
Begin by grasping the windpipe and gently tugging on it. If needed, pull on any organs or guts to help them slide out of the body cavity smoothly.
If you encounter resistance or get stuck partway, it’s likely because the diaphragm wasn’t entirely cut free. Make the necessary additional cuts as you pull to ensure that everything comes loose.
At this stage, the only unwanted bits left inside the deer are likely in the pelvic area. Take a moment to carefully explore. Locate the bladder or “piss sack,” as it might be known in your camp. Gently remove it, being cautious to avoid any mishaps.
Now, carefully pull the rectum and urethra out from under the pelvic bone, cutting away any connective tissue as needed. Pay close attention to the belly muscle, rib cage, and other connective tissues to ensure a clean extraction.
With the windpipe, organs, bladder, rectum, and urethra all removed, the work is nearly complete. You’ve successfully learned how to field dress a deer.
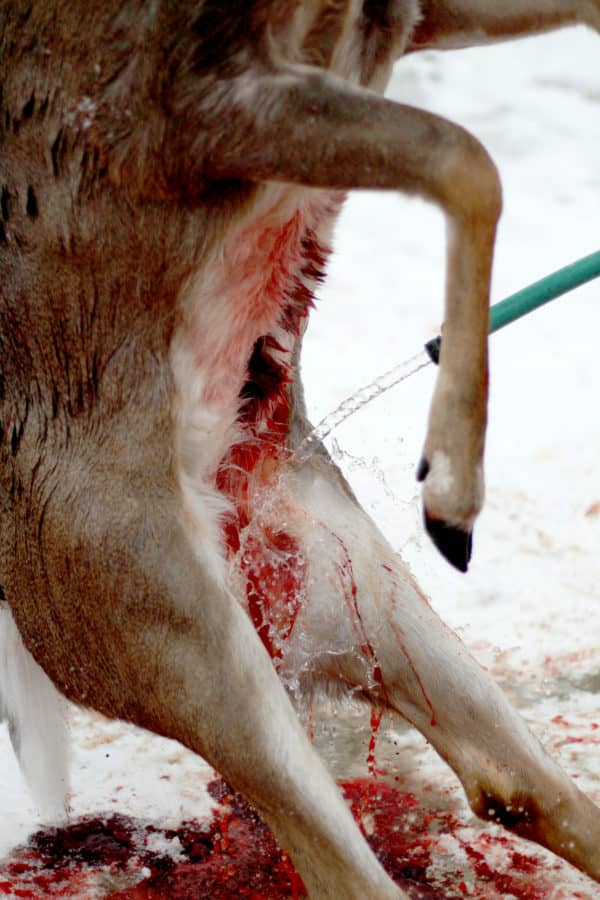
Step 8: Drain n’ Rinse
With the deer on its side, gently lift the hind legs to encourage any residual blood to flow out of the chest cavity. This is a straightforward but vital step that contributes to the quality of the meat.
Using clean water from a portable container or garden hose, thoroughly rinse the inside of the body cavity. Ensure that you reach all corners and crevices, effectively washing away any lingering traces of blood or debris.
By incorporating this additional step into your field dressing routine, you’ll enhance the flavor and quality of your venison, elevating your hunting experience to an even higher level of expertise.
Step 9: The Chill
After rinsing the body cavity, prop it open to allow for improved air circulation. This step facilitates the cooling process by dissipating heat more effectively.
To achieve this, you can use sticks, branches, or any available materials to hold the body cavity open. Ensure that the deer is positioned in a way that allows air to flow through the chest cavity.
If you’re in a location where elevation is feasible, consider elevating the deer slightly off the ground. This aids in both cooling and preventing unwanted pests from reaching the carcass.
Key Considerations for Successfully Field Dressing a Deer
The art of the field dress is a skill that goes beyond the step-by-step instructions. Here are some key insights and considerations to ensure a successful field dressing experience:
Throughout the process, it’s crucial to maintain respect for the animal and the hunt. Every step, from the initial cut to the final inspection, should be carried out with reverence for the harvest. This not only honors the animal’s sacrifice but also contributes to a more enjoyable and ethical hunting experience.
The tools you use, particularly a sharp fixed-blade hunting knife and reliable dressing gloves, play a significant role in your success. Ensure your equipment is in top condition before heading into the field, as it can make the process smoother and more efficient.
It’s is not only about preserving the meat but also about ensuring its quality. Efficiency and cleanliness are paramount. Using a well-executed process minimizes contamination and preserves the meat’s flavor and texture.
Taking it to the Next Level: Enhancing Your Field Dressing Skills
Once you’ve mastered the fundamentals of dressing a deer, there are several ways to elevate your skills and enhance your hunting experience:
You may consider exploring advanced techniques. These might include more efficient organ removal methods or specialized approaches for specific game species. Continuously expanding your knowledge can lead to smoother and quicker processes.
As you become more skilled, you may even consider sharing your expertise with others. Teaching and mentoring fellow hunters not only promotes a strong hunting community but also reinforces your own understanding of field dressing
By taking your skills to the next level, you can not only become a more proficient hunter but also deepen your connection with the natural world and contribute positively to the hunting community and conservation efforts.
Exploring Alternative Field Dressing Techniques
While the method I’ve described is effective for dressing a deer, it’s important to acknowledge that there are alternative techniques employed by hunters. These alternatives may suit different preferences and hunting scenarios:
Some hunters prefer the traditional approach, which involves making a single incision along the belly, from the sternum down to the pelvis. This method grants easy access to the deer’s internal organs and allows for their removal in one piece. While it may seem more straightforward, it can be messier and potentially risk puncturing the organs if not executed carefully.
Another alternative is the hind leg method. This technique involves making a small incision near the deer’s hind legs and skinning the deer from that point, working upward. While this method may minimize the risk of contaminating the meat with stomach contents, it can be challenging and requires skill in skinning.
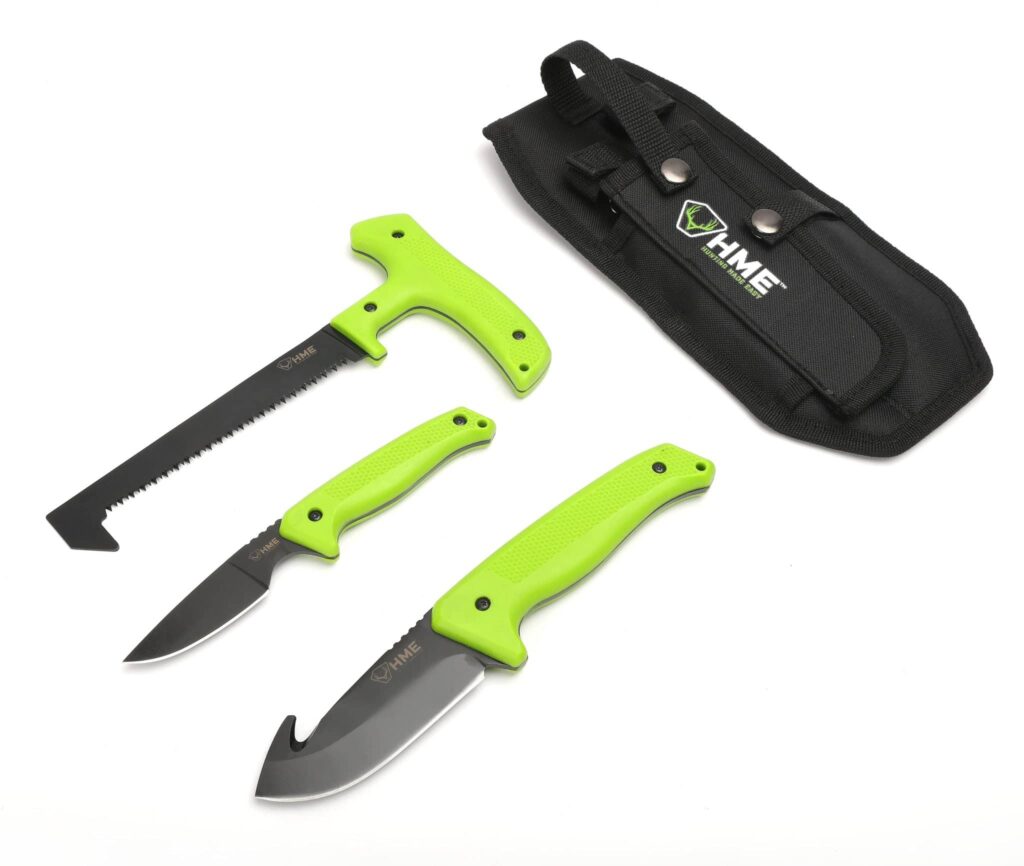
For those looking for convenience, kits are available with specialized tools designed for efficient deer processing. These kits often include gut hooks, saws, and other instruments to simplify the process. While they can be effective, mastering these tools may require practice.
Ultimately, the choice of technique depends on personal preference, hunting conditions, and experience level. It’s essential to explore and practice different methods to determine which one works best for you and aligns with your ethical and safety considerations while ensuring the highest quality meat for your table.
Wrapping Up and My Experience With Field Dressing
In wrapping up this tutorial, I hope you’ve gained valuable insights and practical skills that will enhance your hunting experience. This is not just a necessary task; it’s an art that combines respect for the hunt, efficiency, and the preservation of high-quality meat.
Through my years of hunting and refining these techniques, I’ve come to appreciate the profound connection between the hunter, the animal, and the environment. My goal has always been to share knowledge that not only ensures successful hunting but also promotes ethical and sustainable practices in the field.
Remember, it’s is a skill that evolves with experience. Embrace the learning process, respect the animals you harvest, and continue honing your skills to become a proficient and responsible hunter. By doing so, you’ll not only enrich your hunting adventures but also contribute to the preservation of our cherished natural resources.
So, gear up with your sharp knife and dressing gloves, embark on your next hunt with confidence, and enjoy the satisfaction of field dressing like a seasoned pro. Happy hunting!